Adventures in 3d printing...Part II
Table of Contents
ts been a few weeks now since I purchased my Makerbot. I thought I’d share some projects created and some things I learned in the process. Overall the Makerbot is really easy to use. Most of my prints have come out really well. Others, not so much.
The Successes
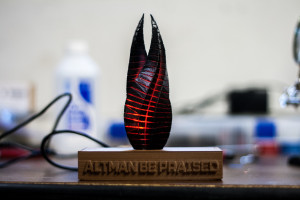
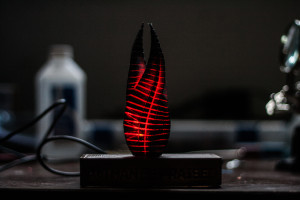
The thing I am most proud of so far is my Dead Space Marker Replica. To those unfamiliar with Dead Space (and those who didn’t read the wiki), Markers are Alien artifacts that wipe out entire populations and turns the corpses into Space Zombies™ and fun times are had by all. The particular Marker I wanted to create glossy black with red glowing glyphs. The Easiest way to achieve this was to print it clear and try to paint it.
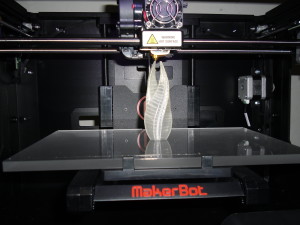
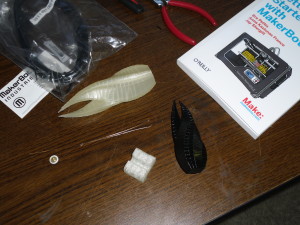
The little Marker served as a test dummy. The black spay paint worked better than expected. The models themselves are hollow, which allowed me to insert these super bright Red LEDs. The spray paint turned out to be really thin along the grooves, so the light shined through it perfectly.
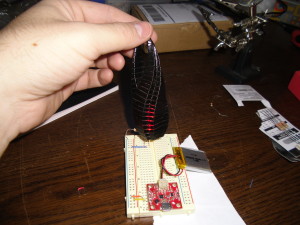 The Final step for the Markers was to create a stand, and replace the battery (pictured above) with a usb cable (perfect desk decoration). The final results look quite sinister ☺
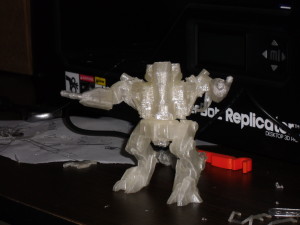
Other successful (and worth showing off) prints include a movable Battle Mech:
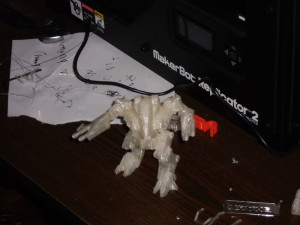 A Cylon Raider model (printed in pieces):
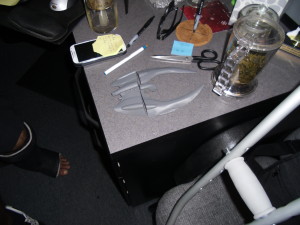
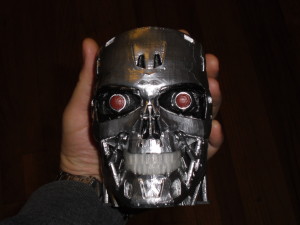
And Finally, my very own T-800 terminator
Things Learned
The main things I’ve picked up to get successful prints are:
- Know when to use support structures
- Know how to store your filament.
Support Structures
The Makerbot 3d printer creates objects on layer at a time. Often times the objects being printed have parts that overhang. Take this Cylon Raider for example. The only parts of this model that are touching the ground (or base plate if you want to be precise) are the base of the wings. If there is no support for the center, the printer essentially prints on air. Notice the difference between no supports (left) and with supports.
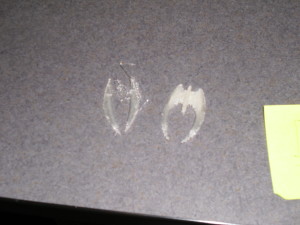 Without something for the plastic to stick to (the base plate or a previous layer of plastic) it just kind of globs in the center as you can see with the failed raider. With supports, almost any model should be printable. Notice the support structures on this Firefly model:
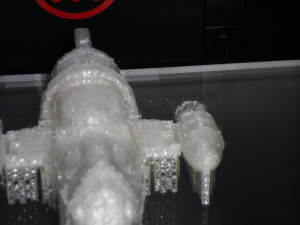
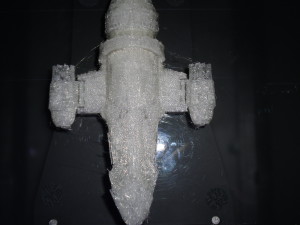 This model was a “failure” for reasons other than support structures (the model was so detailed that the printer had a hard time with it), but it shows how the snap off support structures are used.
Not all models with overhanging parts need supports added however. If the model you are printing has overhanging parts that are at less than a 90° angle or the model itself is small, it should print ok. Take this “horse” for instance:
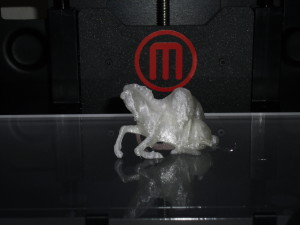 The legs were at an angle and size that supports were not needed
Filament Storage
PLA filament will absorb moister from the air if left out too long. This will cause the plastic to boil when heated and will ruin prints. When not in use I store mine in air tight zip lock bags.
That’s pretty much it. The next step is to learn how to create my own models to print out using Blender . Once that is mastered I’ll be able to create cases, parts or anything else needed for future electronic projects.
