3D printed Mandalorian Armor
Table of Contents
2020 was a dumpster fire of a year. Covid ravaged the planet, lockdowns destroyed my mental health and supply chain shortages became a thing. While once abundant as toilet paper, microchips have become as rare as a good Matrix movie. Sadly, no microchips, meant no hobby work. After months and months of not creating anything, I decided I would create with what I had, my 3D printer.
In 2021, I decided to create Mandalorian armor. I had no idea where to start, but discovering various YouTube channels (such as VaultFox) I was able to figure out not only how to smooth my prints to make them look legit, but also how to paint them. There are tons of videos out on the internet on how to do this, so I won’t get very detailed. However, I’d still like to document the process.
Gallery
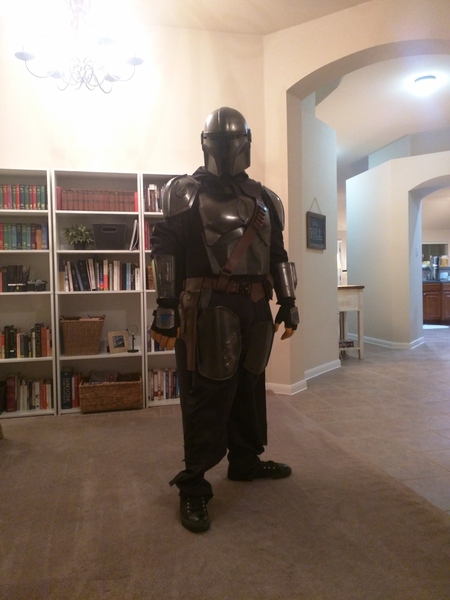
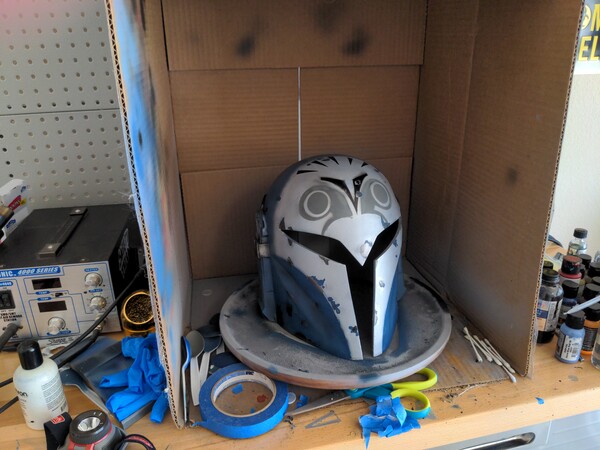
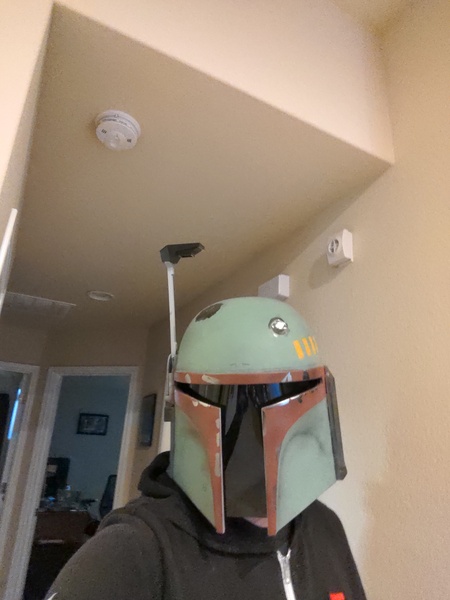
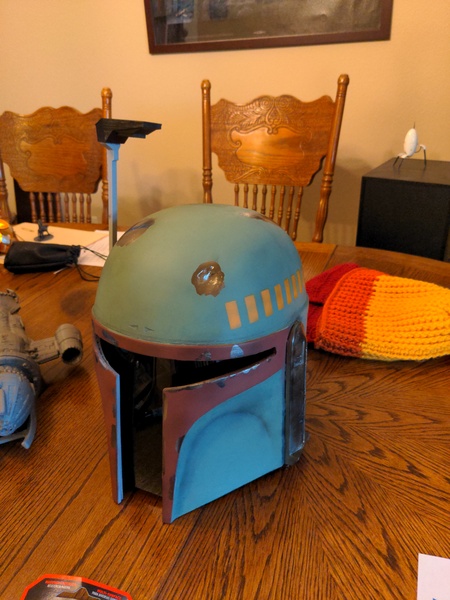
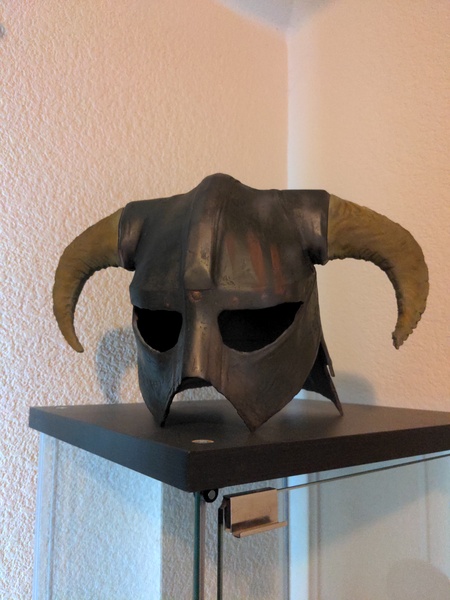
Skyrim helmet painted with Alclad Steel
How to
- If your printer is anything like mine, you will not be able to print the entire helmet/piece in one go. Using whatever slicer program you have, you need to first cut the part into printable pieces and then glue the parts together. I find that using Gorilla Epoxy gives fairly strong joints.
Additionally, to speed up the print times, you can lower the quality settings on the print without any negative repercussions (thanks to the next step).
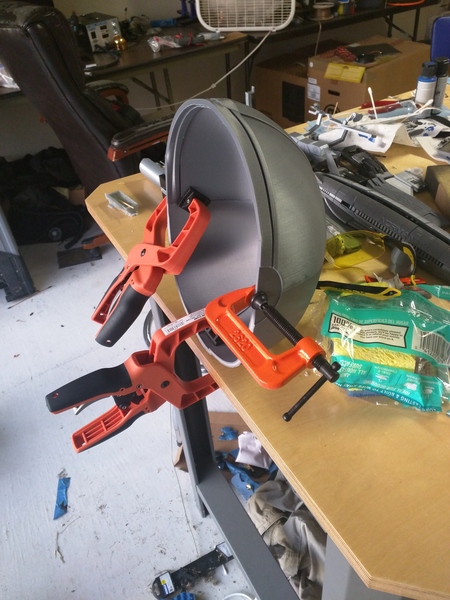
Glueing the Mando helmet
- The next step is to both remove the seam lines and to remove the print lines. To do this, the entire piece must be covered in Bondo Glazing and Spot Putty. You need the single tube stuff, not the kind you mix together. Bondo can be found at any auto-parts store.
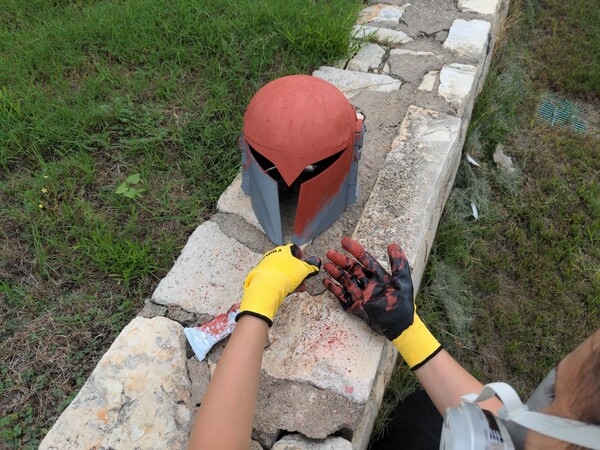
Covering the helmet with bondo
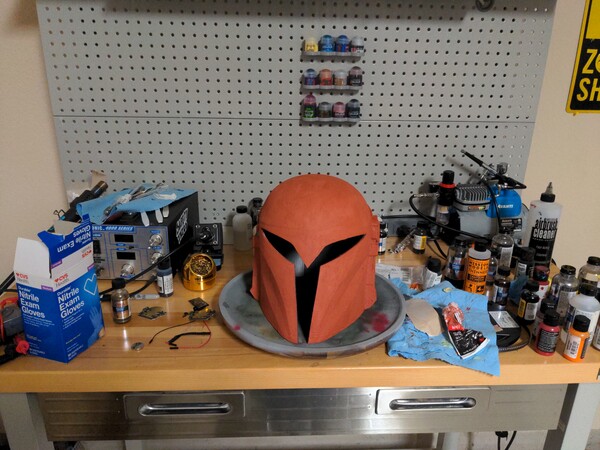
Dried Bondo on the helmet
- The next step is to sand the helmet using 120 grit sand paper. It is critical that there are no “holes” or “darker red” spots left on the part (otherwise you will have to do this step again later).
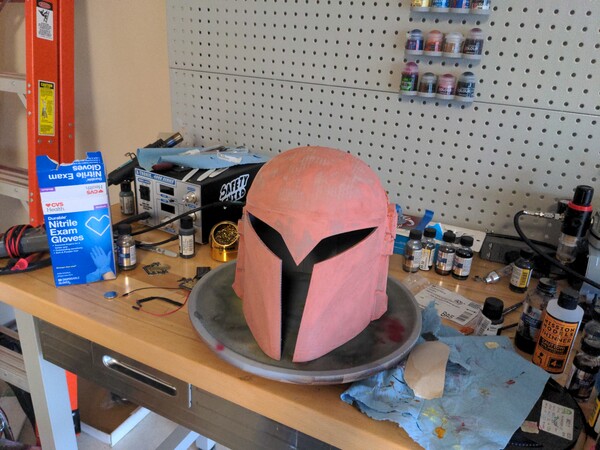
Freshly sanded helmet with no blemishes
- Next, the part needs a solid coating of Sandable Filler Primer The filler primer can also be found at any auto-parts store. Unlike spray paint, you want to apply the primer with slow strokes. Applying it quickly (like spray paint) will result in the primer layers being too thin to sand. Allow primer to dry for 1.5 hours. Once dry, sand the part with 320 grit sandpaper. When the part feels consistently smooth, sand it again with 400 grit sand paper. When complete, wet sand with 600 grit, then wet sand with 1000 grit.
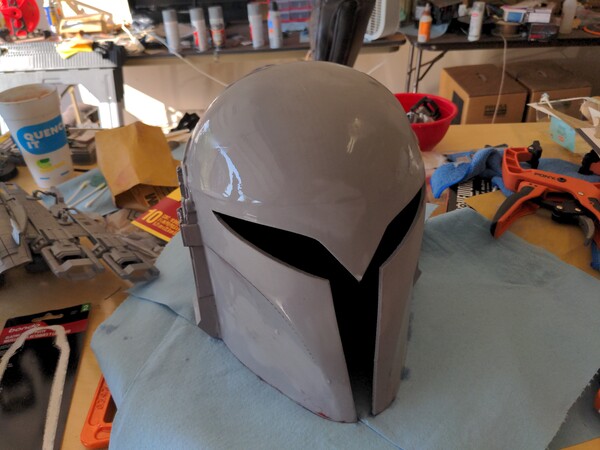
Freshly wet sanded with 1000 grit
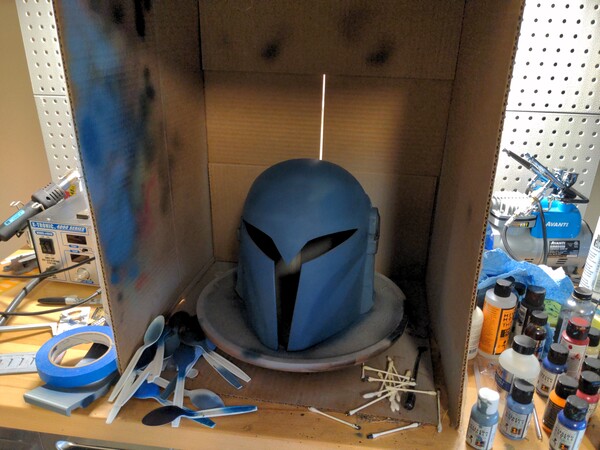
- The next step is painting. All the helmets shown were painted using an airbrush. There are thousands of tutorials online on how to use one, so I won’t get too into the weeds talking about how to do that. I would recommend using plastic spoons to test paint with before painting the final product. All of my metallic paints are made by Alclad II. One trick that took me way too long to figure out, was when painting with chrome, you actually use very little chrome paint. The chrome paint bottle instructs you to put a layer of Alclad Gloss black on as the first layer, then the chrome paint. The gloss black is the part that gives the chrome its reflectiveness. Once the black layer is down, lightly apply thin coats of the chrome until it looks how you want it.
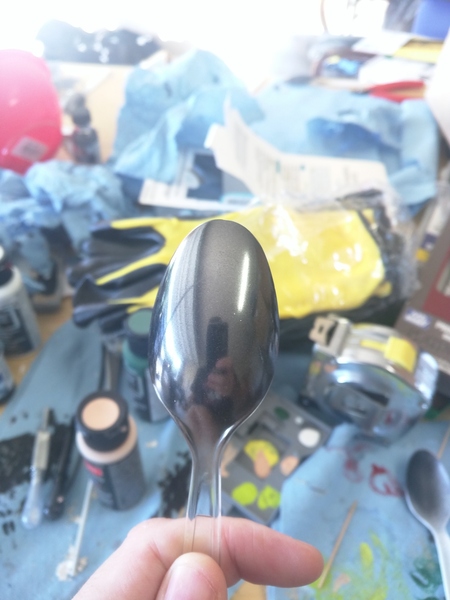
Alclad II chrome on a test spoon
- For bonus battle damage, paint parts of the helmet in chrome, and apply liquid latex on random parts of said chrome. Once completely painted, peel off the latex to create “metal chips.”
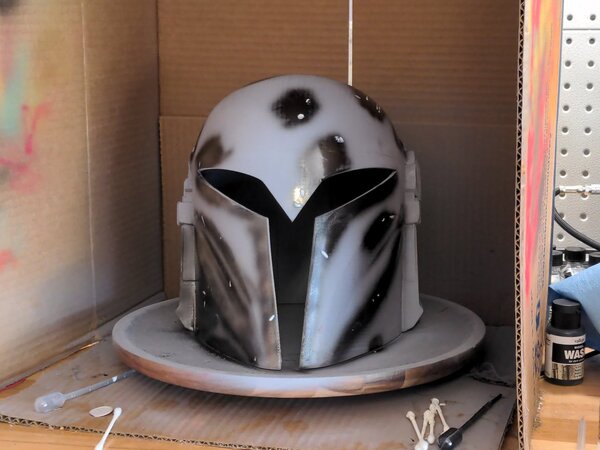
Liquid latex (white dots) applied over parts of the chrome

For the owl eyes and helmet “spikes,” I used the printable stencils below.
Downloads
Using OpenScad and Inkscape, I was able to convert this owl eye template from VaultFox into a 3D printable stencil for use with the Bo Katan helmet.
