Stargate Badge
Table of Contents
Intro
After being apart of the #Badgelife community for the last several years, I figured it was finally time to actually pull my weight and create a badge. I’ve always loved Stargate, and figured making a badge that only did blinkenlights would be a much easier project to get out on a deadline. Overall the project was a success! Within a few days of posting it to twitter the badge had ~30k views. I’ve never had anything I’ve created get so much attention so quickly. Needless to say, once the prototype became public knowledge, the pressure was on. This is how I did it.
Hak5
So by far the coolest thing this project ever did was allow me to meet Shannon Morse of Hak5. Shannon was kind enough to interview me for a segment on the show. You can watch it here:
Technical Ramblings for nerds
Software
The software was kind of a hack job to be honest. In the beginning I had planned to write clean, efficient code, and it did start out that way (I’m pretty happy with the wormhole animation code). Once I started coding the chevron animations however, my poor planning caught up with me. What started with a well written algorithm to rotate the chevrons clock and counter clock wise turned into a mess as hastily done patch jobs were implemented to get the LED’s to stop and start properly. I’m not going to waste more time talking about it. If you are so inclined the source code is on github.
I do want to thank wpaul of Team Ides for helping me work out an interrupt problem that made the badge “crash” after the main animation ran once.
Hardware
The badge consists of:
- 1 Nxp KL27 (spun down to 4 MHz)
- 5 74HC_HCT595 shift registers
- 38 side mount LED’s for the chevrons
- 66 blue LED’s
Over all the hardware is fairly simple. The only thing that makes the badge unique is its Stargate shape. I was able to accomplish this by following this excellent tutorial by @TwinkleTwinkie
For those who are curious, here are the schematics and PCB layouts.

This looks much clearer full sized
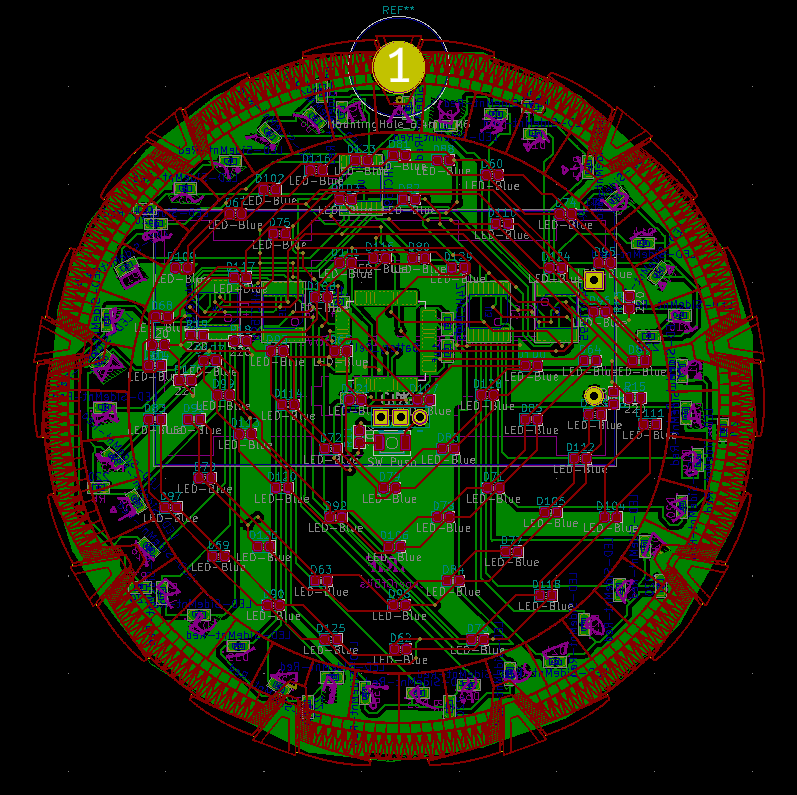
Click for SVG of the board
Overseas Assembly
Making one of something is easy. Making many is something else entirely. My fist thought was to just hand assemble all 119 units in my garage hanging out with the dog (after all who doesn’t love working in the garage?). This notion was shattered as soon as the prototype was completed. With over 100 LED’s, it took me 3 days working at a “keep me sane” pace to complete. At this point I knew I needed to leverage knowledge from the badgelife community.
Luckily for me, last year I met hackaday’s own Kerry Scharfglass. In addition to providing the amazing talk below on mass manufacturing, Kerry was also kind enough to chat with me for about an hour answering all my asinine questions.
Sourcing Parts
I’ve heard horror stories about having manufacturers sourcing the wrong parts. So to avoid that I bought all my parts and shipped them straight to China for assembly. Unfortunately this had a few draw backs:
- shipping to China is expensive. Just to haul all my parts there was about $500
- Buying LED’s from aliexpress took over a month to arrive
- The LED’s were sourced from china because they ended up costing ~$100 vs several thousand from US vendors
- Buying 2 reels of the same blue LED’s from the same aliexpress vendor produced two different shades of blue. So about half of my badges had the correct aqua wormhole LED’s (left), while the other half a much darker blue (right). By the time I realized what had happened, assembly was already completed. Thankfully, as far as cock ups go, this wasn’t too bad.
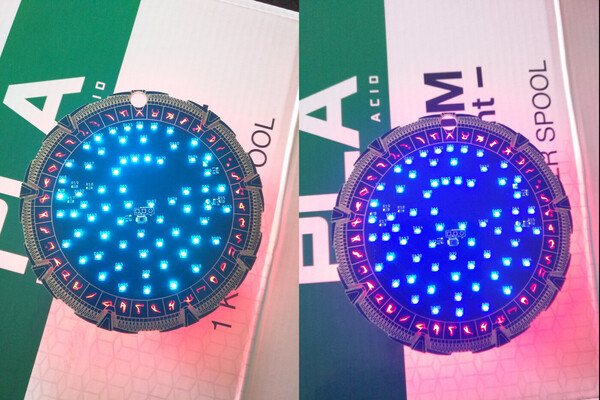
Getting minorly screwed by Aliexpress
Choosing a Fab
After sourcing everything the next step was choosing a place to mill out and assemble the PCBs. Ultimately I went with PCBWay as they had a good track record with other badge makers.
In my mind there is no doubt that PCBWay earned that good reputation. If anything was even slightly unclear, instead of making assumptions (which is what I would have done) they reached out and asked me to clarify. My favorite example of this is when I sent them the Gerber files to manufacture the circuit boards. The tech responsible for manufacturing was expecting something a little more “normal” looking. He emailed me with this and asked if I was sure that this circuit board was even in the realm of correct:
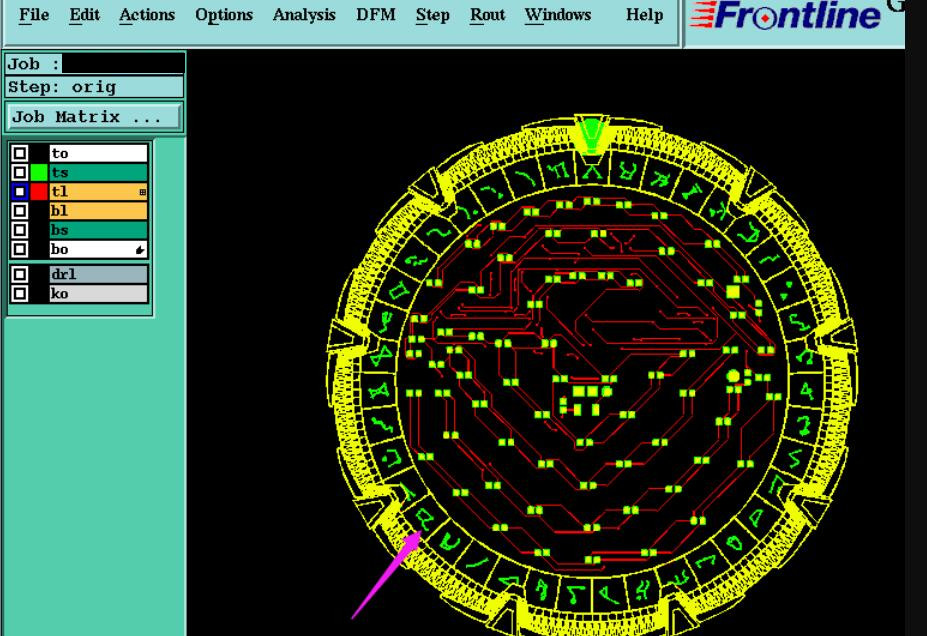
I can only imagine the tech seeing this and saying “wtf is this?”
Because they asked questions for anything that they didn’t have 100% confidence in, and sent me a prototype before constructing more, the badges were manufactored correctly.
Overall the final output was:
| Dead Badges | Working out of the box | Needed minor rework |
|---|---|---|
| 2* | 102 | 15 |
*The dead badges were due to faulty MCUs, and these badges were repaired once I replaced the faulty chips. The reworks were very minor (a couple cold solder joints, and occasional backwards LED (the chevrons were hand soldered because I designed them in a way that was beyond what a pick and place machine could do)). I have full confidence that if the fab had my firmware to test the badges (they did not) they would have caught the minor errors and fixed them before shipping. Special thanks to Amatus for helping me fix the 15!
Bottom line, I would absolutely recommend PCBway to anyone looking to mass produce electronic projects.
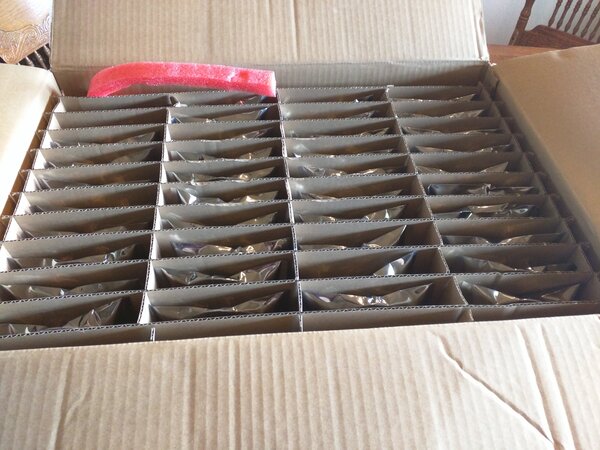
Recieved in their unleaded glory
Since my order quantity was low enough, I was luckily able to avoid the cheeto tax.
Lanyards
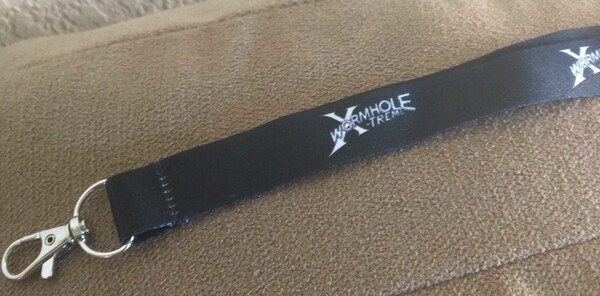
The lanyards were purchased from CustomLanyard.net. Nothing else to add other than they make me happy.
YES IT DOES SAY COLONEL ON MY UNIFORM
