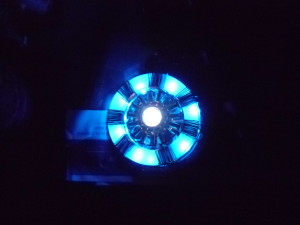
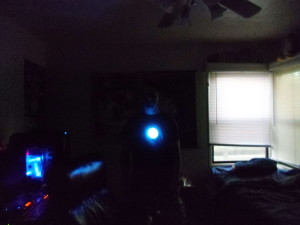
Teensy Powered Arc Reactor Replica
Flipping through one of my ThinkGeek catalogs and I noticed this light up Tony Stark Arc Reactor shirt. I noticed the price tag and figured for $30, I could probably build a better one myself. The problem was, I didn’t know where to start. Prior to building my temperature monitor I haven’t had much experience building things. After searching around on the net I found some rather nice instructables to use as a starting point. The end goals for the project were:
- To have it be driven by a micro controller
- To have good battery life
- To be wearable and/or easily put on some kind of display
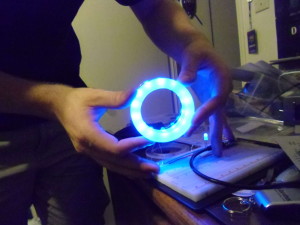
The first step were the rings. From reading around other people’s projects they appeared to be the most difficult item to acquire. I ended up using three layers of acrylic sheet (found at home depot for about $10 a sheet. You could get like 20 rings out of one of these). Using 2 different sized hole saw bits for my electric drill I was able to get these very clear and thin acrylic rings. This leads us to the next problem I had. Clear acrylic does not diffuse light at all. Taking really fine sandpaper and rubbing it in a circular motion will give the rings a frosted glass look. I found that one clear ring on the bottom, and two sanded on top diffuses the light really well.
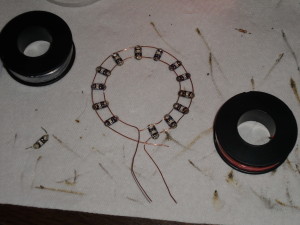
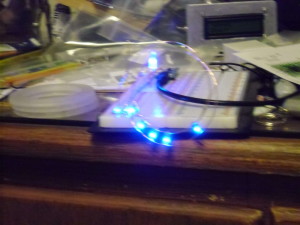
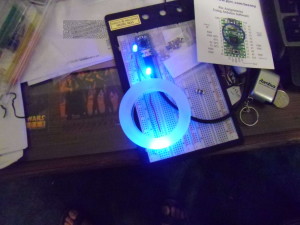 The next step was to wire up the lights. This project used 13 blue lilly pad LEDs I chose these LEDs because of there size, and they already have resisters on them. I then soldered them into a ring using the acrylic as a guide.
The result wasn’t too bad. From there I glued the rings together using epoxy (put small drops of it between where the lights go so it doesn’t mess up the diffusion). After the rings dry, the places with the epoxy no longer look like frosted glass, they look clear again. Put a little bit of electrical tape over those points (I’ll explain in a moment) and then wrap 22 gauge wire over those points and each place on the ring that won’t have an LED shining under it. I found that no matter how tightly I wound the wire, light still shined through the cracks. The electrical tape under those points prevented light from shining through the coils. For the back of my reactor I used an old hard drive platter.
Words of caution: Most hard drive platters today are made out of glass. Drilling though them is a good way to end up getting stitches. Second note, it is really hard to attach things to hard drive platters. Use something else if you can.
To make the final product wearable, I drilled a small whole near the top of the hard drive platter to insert a “pull chain.” Wearing it feels a bit odd, but it gets the job done.
The center of the reactor is made with 2 motor spindles. The Larger is made from a floppy disk drive and the smaller one on top I gutted from the same hard drive I got the platters off of. Under the spindles I have two “flash bulbs” . On the side of the control box I built there is a red button. When pressed, it drops the brightness on the blue leds, and flashes the hidden white ones randomly.
Thats about it. I plan on publishing the teensy code soon. Hope this is a good start to creating your own replica.
